In an earlier cPanel tutorial, we discussed Creating a MYSQL Database through cPanel. Once you have created a database, the next step is to manage this database. Either you need to create a table or modify an existent table, you can do this all through phpMyAdmin.

Step 1: Locating phpMyAdmin
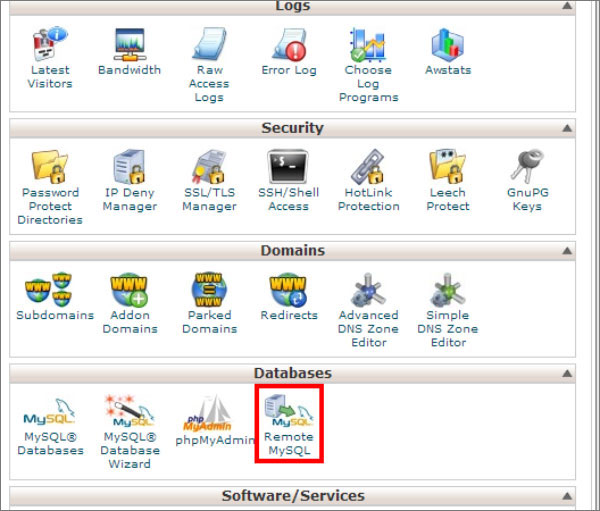
In your cPanel account, you can find phpMyAdmin option under the “Databases” section. Clicking on phpMyAdmin opens up a new tab/window.
Step 2: Selecting Database
The figure below shows the main screen of phpMyAdmin. On the left side, you can see name of all the databases that exist under your cPanel account. The first step is to select the database to which you want to make changes. Click on the name of database (e.g. “demoacc_demodb”) to select it.
Step 3: Creating Database Table
The next step is to manage the tables in the selected database. In this case, as you can see in the figure below, there are no tables found in the database. Let’s create a table first. Click “Go” button after filling “Name” and “Number of columns” to create a table. You can increase or decrease the number of columns later as well. Usually, each column corresponds to a field whose record you want to maintain. The rows contain the data asked in the columns for each user or record.
The next page asks you to name the columns. As an example, if you are creating a database table to store user credentials, you can use the three columns to store username, email and password. Once you have entered necessary details, click “Save” button.
On the next page, you can see a table created now.
Step 4: Adding records to database
You can now link this database with a script which can insert records itself in the appropriate columns when there is a new user sign-up. An alternative way is to add records manually through phpMyAdmin. To do so, click on “Insert” option next to the table in which you want to enter a record. Remember, each inserted record corresponds to addition of a new row in the table.
Enter the data for each column in the “Value” field and press “Go” button. The record will be immediately inserted into the database.
To view all the rows added, click on “Browse” button next to the table. The next page shows the database data well-organized in rows and columns.
You may continue to add more rows. However, adding data manually for a database of a very large number of users is quite infeasible. If a script is given access to a MYSQL database, it can add, modify or remove any record from the database automatically. Usually phpMyAdmin is used when you need to look into, modify or delete a particular record.
With the end of this tutorial, you know how to create tables through phpMyAdmin, how to create fields in a table and how to insert a new record. In a later tutorial, we will cover how to modify databases through a PHP script.


